Developing Black and White Film in My Kitchen
What it takes to turn an exposed roll into negatives at home, and why I keep doing it by hand.
Technically, I'm allowed to open the tank a few minutes into the fix. I never do. I let the fixer run its full time and then wash the film.
Only then do I take off the lid and unwind the reel. It feels like opening a Christmas present as a child. I've developed hundreds of rolls by now, and pulling out that first strip and holding it up to the window is still a thrill.
Black and white film is forgiving, but not endlessly so. Some film and developer combinations leave less room for error, and sometimes the light in a scene was simply harder than I thought. Either way, it shows on the negative before I scan anything. A negative that is too thin, almost transparent, points to underexposure or underdevelopment. One that is too dense points to overexposure or overdevelopment.
Ansel Adams taught us to expose for the shadows and develop for the highlights. I only truly understood what he meant once I developed my own film and looked straight at the negatives. Underexpose, and the shadows come out too thin, their detail gone. Overdevelop, and the highlights build up so dense that their detail is lost as well.
For the scenes where no exposure can hold everything, Adams and Fred Archer worked out the Zone System. In high contrast, film can't hold the whole range from the deepest shadow to the brightest light, so exposure becomes a creative choice. Either I give up the shadows to keep detail in the highlights, or I let the highlights go for the sake of the shadows. Either way, the negative tells me whether my instinct about the exposure was right, or whether I need to go out and try again.
Why at home
When a close friend, who shares his work at 39exposures, told me he develops his film at home, I pictured him in a white lab coat, surrounded by vials, mixing something highly toxic. Then I visited him in Prague and we developed a couple of my rolls together. It turned out not to be rocket science. Temperature control is easy, especially when the room is already around 20 °C, and the times for most film and developer combinations are in the Massive Dev Chart app. The only tricky part is learning to load the film onto the reel in the dark. After that, it's pretty straightforward.
Of course, you can take your film to a lab and get the negatives back. But that also takes away the thrill of learning from the process. Colour film all goes through the same standard C-41 process; black and white has no single recipe. Each film and developer combination needs its own approach, and each gives a different result, so you can steer contrast, grain, acutance and much more. For me, developing the negatives is almost as exciting as taking the photograph. There's an old saying that you don't take a photograph, you make it. When I develop my own film, I truly do.
And there's a bonus: the price. Labs often charge nearly twice as much to develop black and white as colour. At home, once you've bought the equipment, each roll costs almost nothing.
What I use
- Tanks and reels: Jobo 1520 Tank and 1501 reels
- Developers: Adox XT-3, Rodinal and HC-110
- Stop bath: Plain water
- Fixers: Adofix Plus and Moersch ATS alkaline fixer
- Wetting agent: Adoflo
- Other: a thermometer, an Adox 1000 ml measuring cup, a funnel, a Kaiser film wiper and Kaiser 1000 ml collapsible bottles
Over the years I've collected plenty of other things that turned out to be less useful. The absolute minimum to start is much shorter: a development tank, chemistry (developer, fixer and wetting agent), a thermometer that is accurate around 20 °C, and one or two 1000 ml collapsible bottles, depending on the developer and a funnel. For the tank I'd pick the Jobo 1520, because developing two rolls at once is great. All of that comes to under 100 EUR. With a lab charging around 9 EUR to develop a black and white roll, it pays for itself after about 11 rolls.
The only expensive part of the setup is the film scanner. There are countless options, and budgets start at a couple of hundred euros and end somewhere in six figures. I only scan my own negatives and never need to get through a hundred rolls a day like a lab does, so I don't need a 20,000 EUR automatic scanner. My scan setup is based on relatively cheap scanner and some software. Overall, including the scanner and software, my break-even against the lab is about 50 rolls.
A typical roll
Loading. I load the film in the dark, and my darkroom is the utility room. I close the door and seal the gaps with a bedsheet and a towel. Then I switch off the light and wait a few minutes for my eyes to adjust. Once they have, I often see a faint glow somewhere I missed, so I seal that too before I start.
I set up my cameras to leave the film leader sticking out of the cassette when they rewind, so I never have to open the cassette itself. I feed the leader onto the reel, wind the roll on, and cut the film free with scissors. Check that the scissors are within reach before you switch off the light. If they aren't, the only way out is to wind the film back into the cassette and go looking for them. I also keep the reels clean: as they get dirty over time, the film catches more and becomes harder to load.
Developing. For development times I use the Massive Dev Chart app. I pick the film, the developer and the ISO I shot at, and I can adjust the timing depending on how much contrast I want. The app then guides me through each step with timers for pouring, agitating and draining. Before your hands know the routine by heart, that guidance is very useful.
Stop and fix. My stop bath is plain water. A dedicated stop bath makes sense with a strong, fast-acting developer such as HC-110 at dilution A, but for the dilutions I use, water does the job. After the stop comes the fixer. Here the timing isn't critical: a minute longer does no harm. Once the developer and the stop are done, the rest of the process is much more relaxed and needs far less concentration.
Washing and drying. I wash the film using Ilford's water-saving method: fill the tank and invert it five times, drain, fill again for ten inversions, drain, and a final fill for twenty. The last rinse is a wetting agent mixed with demineralised water, because Berlin's tap water is so hard it would leave limescale spots all over the negatives.
After washing, I use a film wiper to remove the excess water, and this is the step I do most carefully. A single grain of dust caught in the wiper can leave a scratch along the whole roll, and no scan will hide it. So before every use I put the wiper in a cup of cold water. That rinses off any dust and cools the rubber, which reduces friction. Then I draw it down the film in one slow, gentle pass, without squeezing hard, and only once. Then I hang the film to dry. Any clips will do, but hang some weight on the bottom end so the film dries straight instead of curling.
Films and developers
My favourite combinations are:
- Fomapan 100 in Rodinal 1+50
- Fomapan 200 in Adox XT-3
- Ilford HP5 Plus in Adox XT-3, pushed
- Kentmere Pan 400 in Adox XT-3, pushed
At box speed I usually shoot Fomapan. For the price it sells at, it's an amazing film. When I want deep, heavy contrast, like in Josef Koudelka's work, I reach for a more expensive film such as Ilford HP5 Plus or Delta 400 and push it one or two stops. For a one-stop push, Kentmere Pan 400 works excellently and costs less than Ilford.
So my plan before going out usually looks like this:
- Bright scenes with a lot of light: Fomapan 100, at box speed or pulled one stop
- Overcast days: Fomapan 200 or Fomapan 400
- Harder or mixed light: Kentmere Pan 400 or Ilford Delta 400, pushed one stop
- Dark scenes and night: Ilford HP5 Plus pushed two stops, or Ilford Delta 3200 at box speed or pulled one stop
What could go wrong
As I said at the start, black and white development is forgiving. A temperature that drifts by a degree won't ruin a roll, and a development time that is slightly off often still turns out fine.
Once I tested that further than I meant to. I had a roll of Ilford Delta 3200 shot at ISO 1600 and a roll of Ilford HP5 Plus also shot at 1600, and I loaded them into the tank together. I looked up the time for the HP5 Plus, 13 minutes in Adox XT-3 stock, and didn't check the Delta at all. Its recommended time was 6:30. I had developed it twice as long as I should have.
The negatives were still usable. On some frames the highlights came out slightly overcooked, but on the whole it was far from the catastrophe I expected when I realised what I'd done.
Of course, a lot can be corrected during the scan. But I would much rather have a good negative than fixing things afterwards in Lightroom. To me, every digital correction takes away a bit of the honesty of the analogue process. So whenever I find scratches on a roll, or negatives that came out too thin or too dense, I'm not happy with the result, and I try to do better next time, so that the scan needs as little work as possible.
From negative to print
Scanning. My scanner is a Plustek OpticFilm 8300i, and it comes with SilverFast 9. At first I tried to do everything in SilverFast: scan, invert to a positive, adjust. I could never get results I was happy with from one roll to the next. So I changed my workflow. Now I use SilverFast only to scan each frame as a raw 48-bit DNG, and I do the conversion in Lightroom with Negative Lab Pro.
The big advantage is that the conversion never touches the scan itself. Negative Lab Pro always works from the raw negative, and every change can be undone. If I want to move the black point a little, I don't have to put the negative back in the scanner. I scan the whole roll once, apply exactly the same settings to every frame, and correct individual frames later, when the negatives are already resting in their sleeves in a folder.
Printing. Ideally I'd make darkroom prints, but my flat has no room for an enlarger, trays and yet more chemistry. So I put my scans on paper with an Epson EcoTank ET-8550. There are plenty of reviews of it, so I'll only mention what makes it such good value.
It uses refillable ink tanks instead of cartridges, so I'm not paying cartridge prices for ink. And it has only six inks, two of which are black: a dye-based photo black and a pigment-based matte black. For black and white, that matters more than a long list of colours. A set of 70 ml bottles costs around 20 EUR per colour, while a cartridge printer like the Canon PIXMA PRO-200 takes cartridges of about 14 ml at around the same price. That's roughly five times as much ink for the money. In practice, an A4 print costs me a few tens of cents in ink instead of a couple of euros.
For true fine art prints I'd still go to a lab with a ten- or twelve-colour pigment printer. But for now, I'm happy with what comes out of mine.
The photographs shown with this article went through exactly this process: developed in my kitchen, scanned as raw negatives and converted in Negative Lab Pro.
If you want to try
Before you load your first exposed roll, practice on film that no longer matters: an already developed roll, or one you've written off. Load it onto the reel in daylight until your hands know the movement, then do the same with your eyes closed. After that, pick one film and one developer, follow the times in the Massive Dev Chart, and don't worry too much. Black and white is forgiving. Even when I developed a roll twice as long as I should have, the negatives were still usable. Your first roll won't be perfect, but it will be yours, and holding that first strip up to the window is worth it.
Example photographs
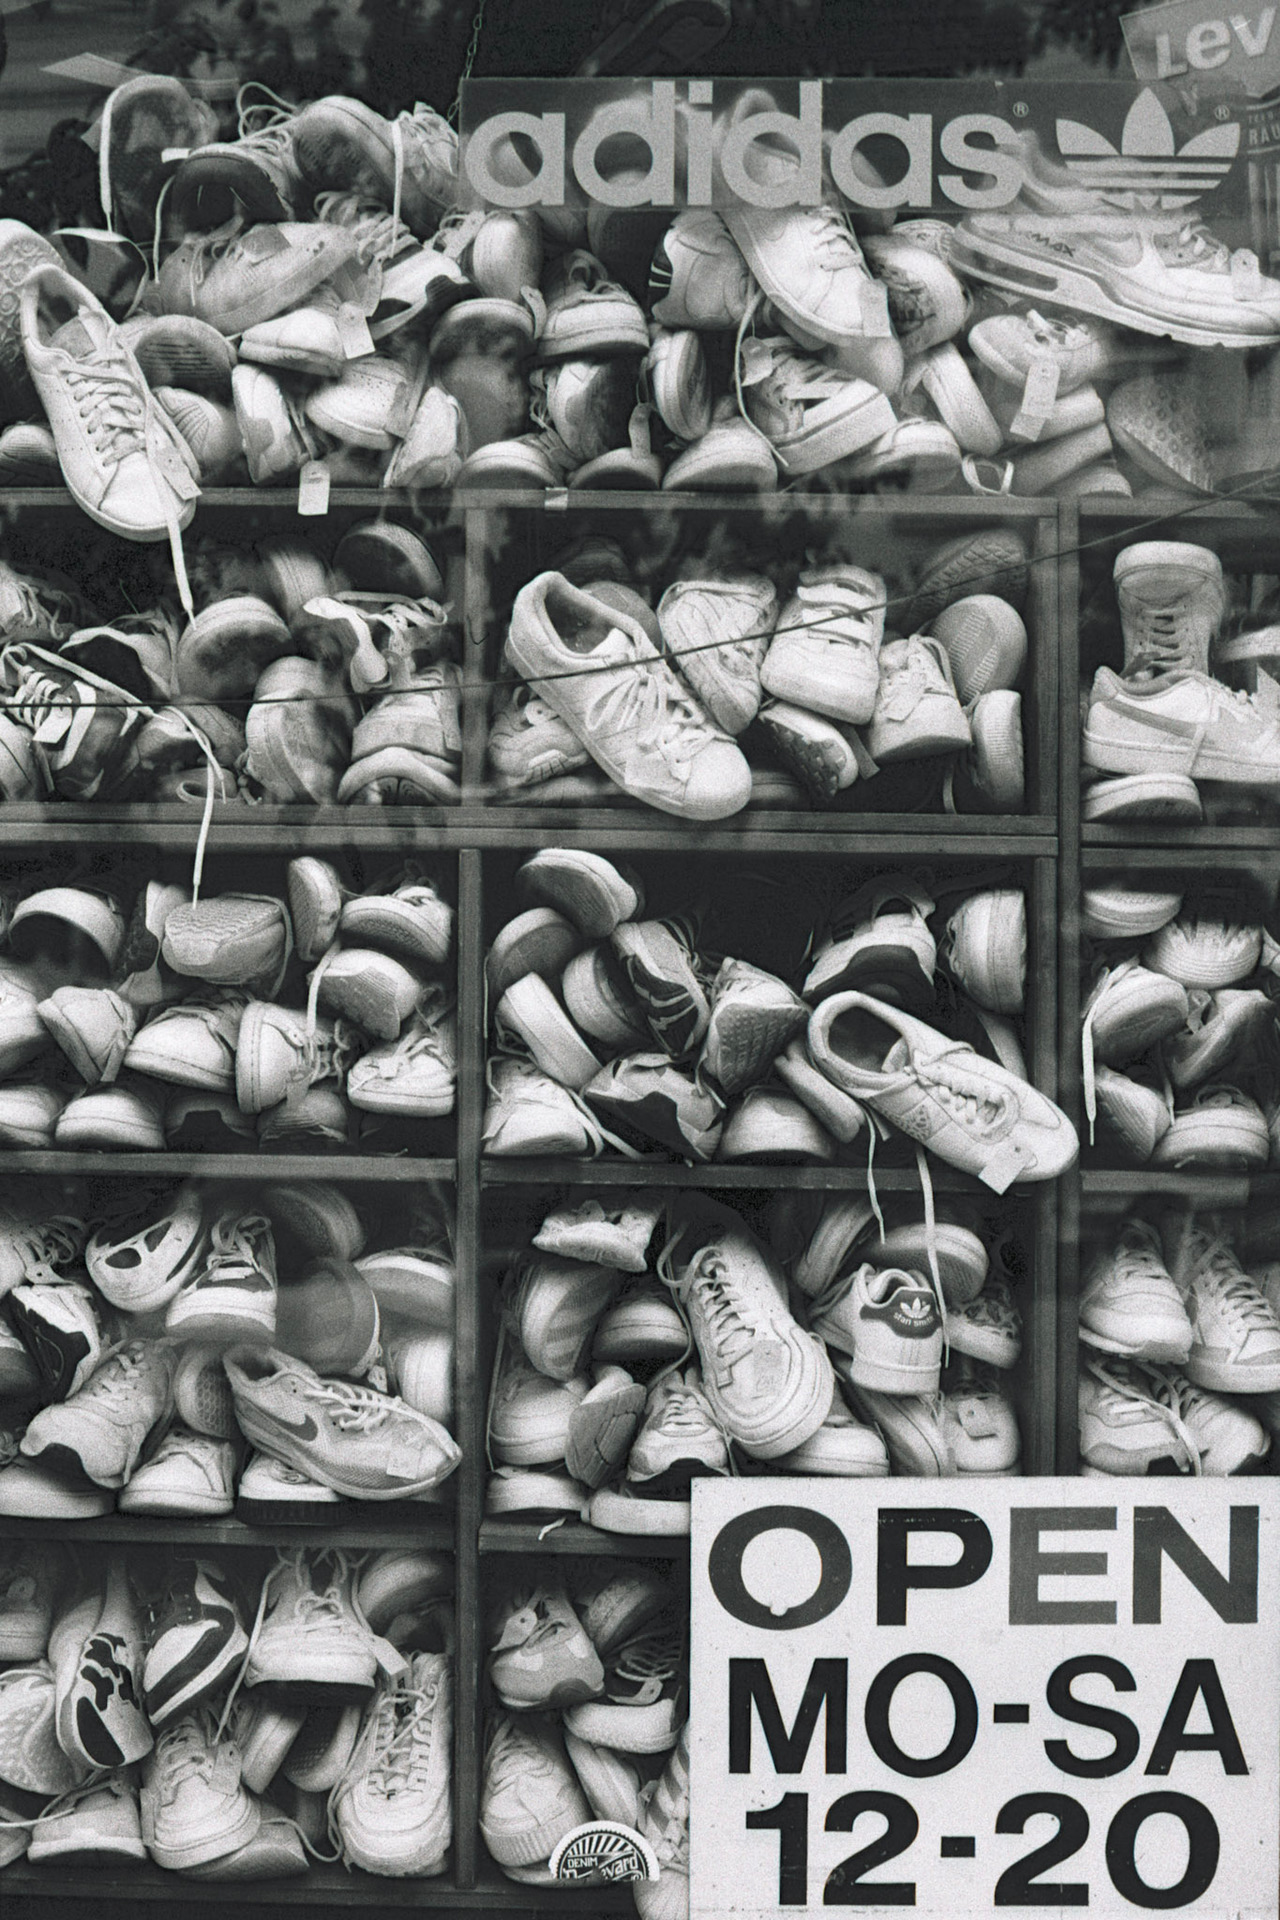
Exposure index 800. Pushed one stop in development.
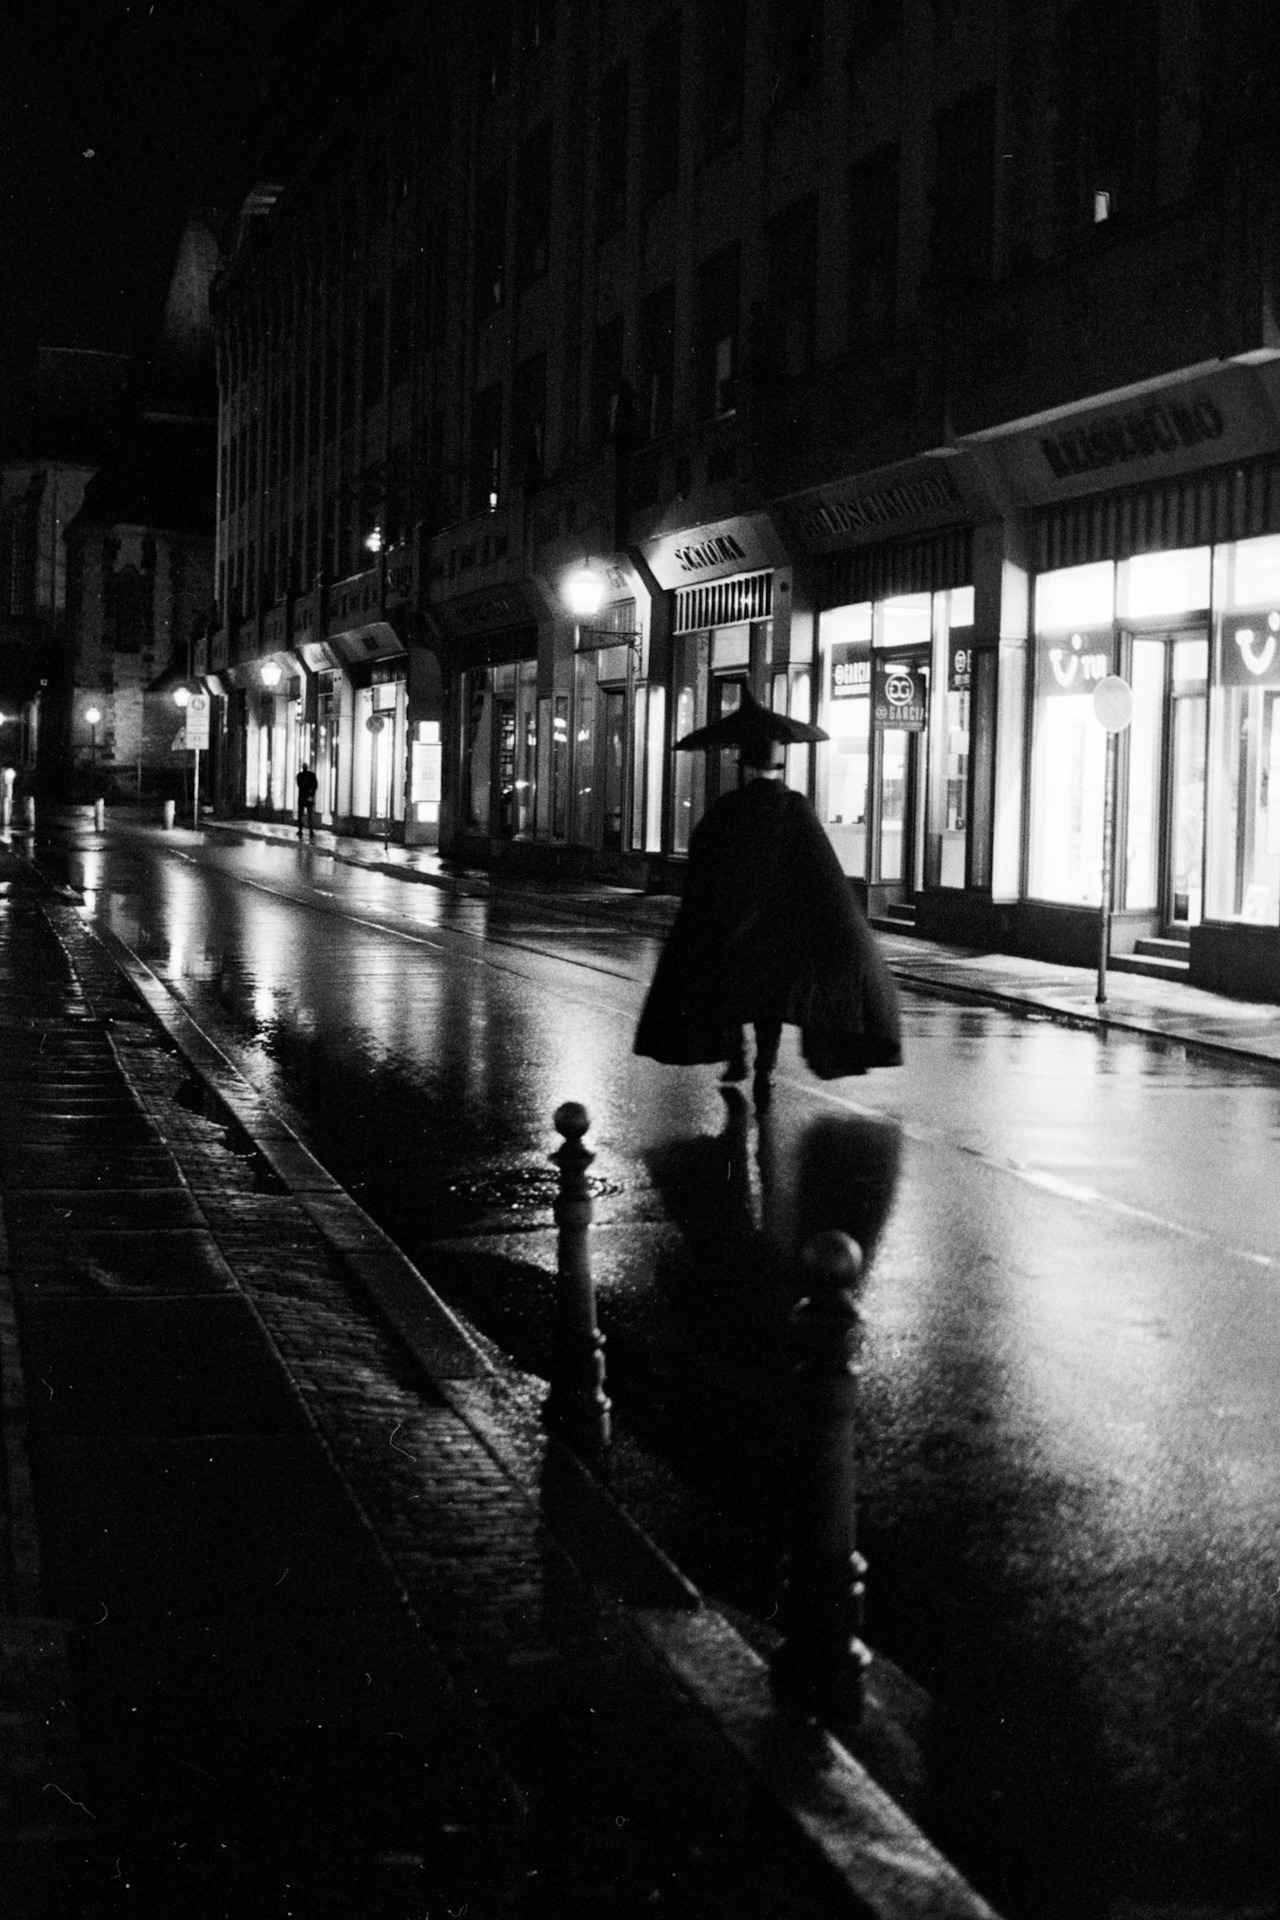
Exposure index 800. Pushed one stop in development.
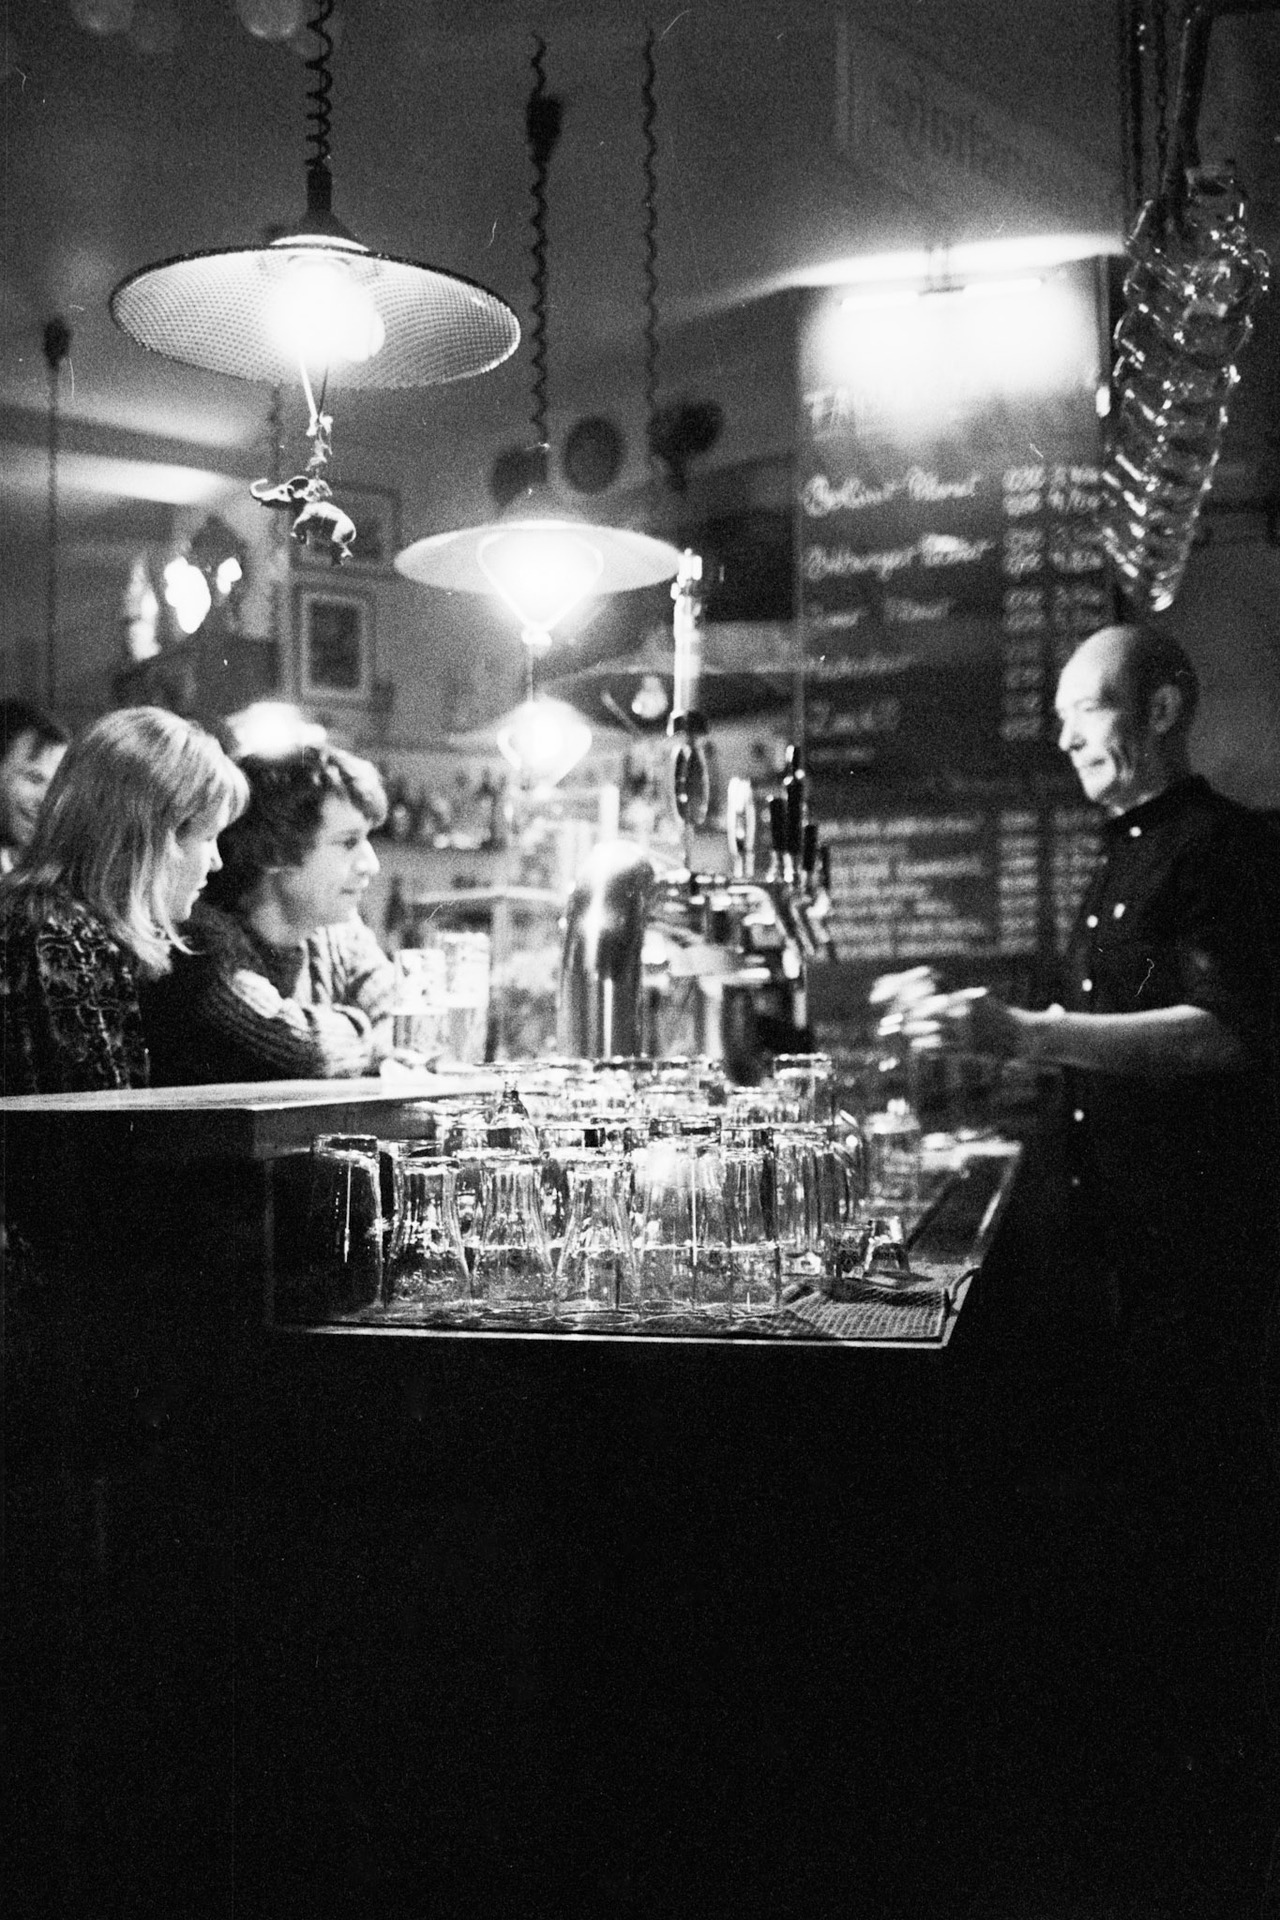
Exposure index 1600. Pushed 2 stops in development.
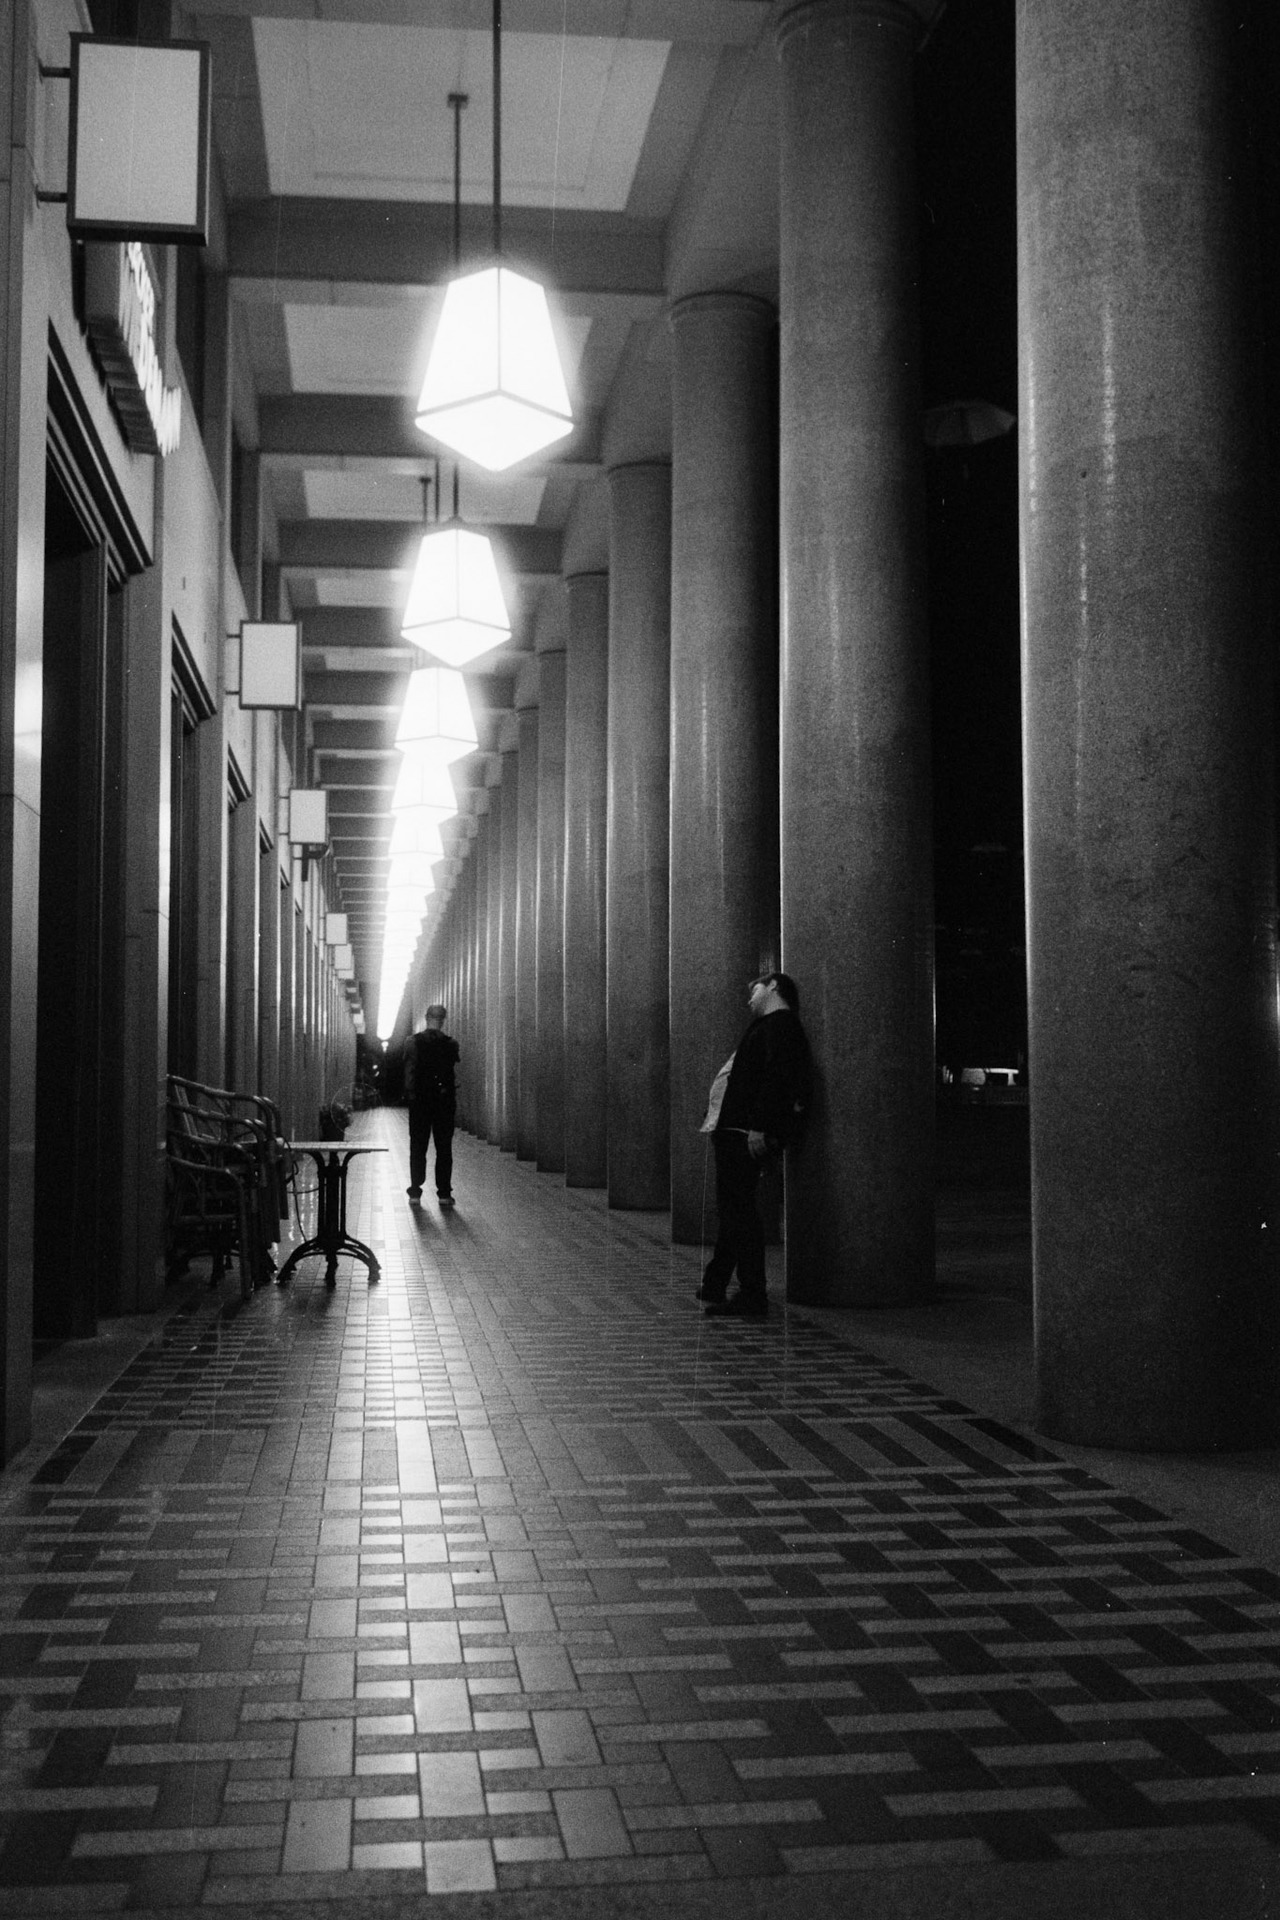
Exposure index 400. Developed normally.